Opening Your Amazon Seller Account
To become an Amazon seller, all you need is your tax information (GST Number & PAN, depending on your category) and an active bank account. Below is the process to open your seller central account.
1. Go to https://sellercentral.amazon.in/
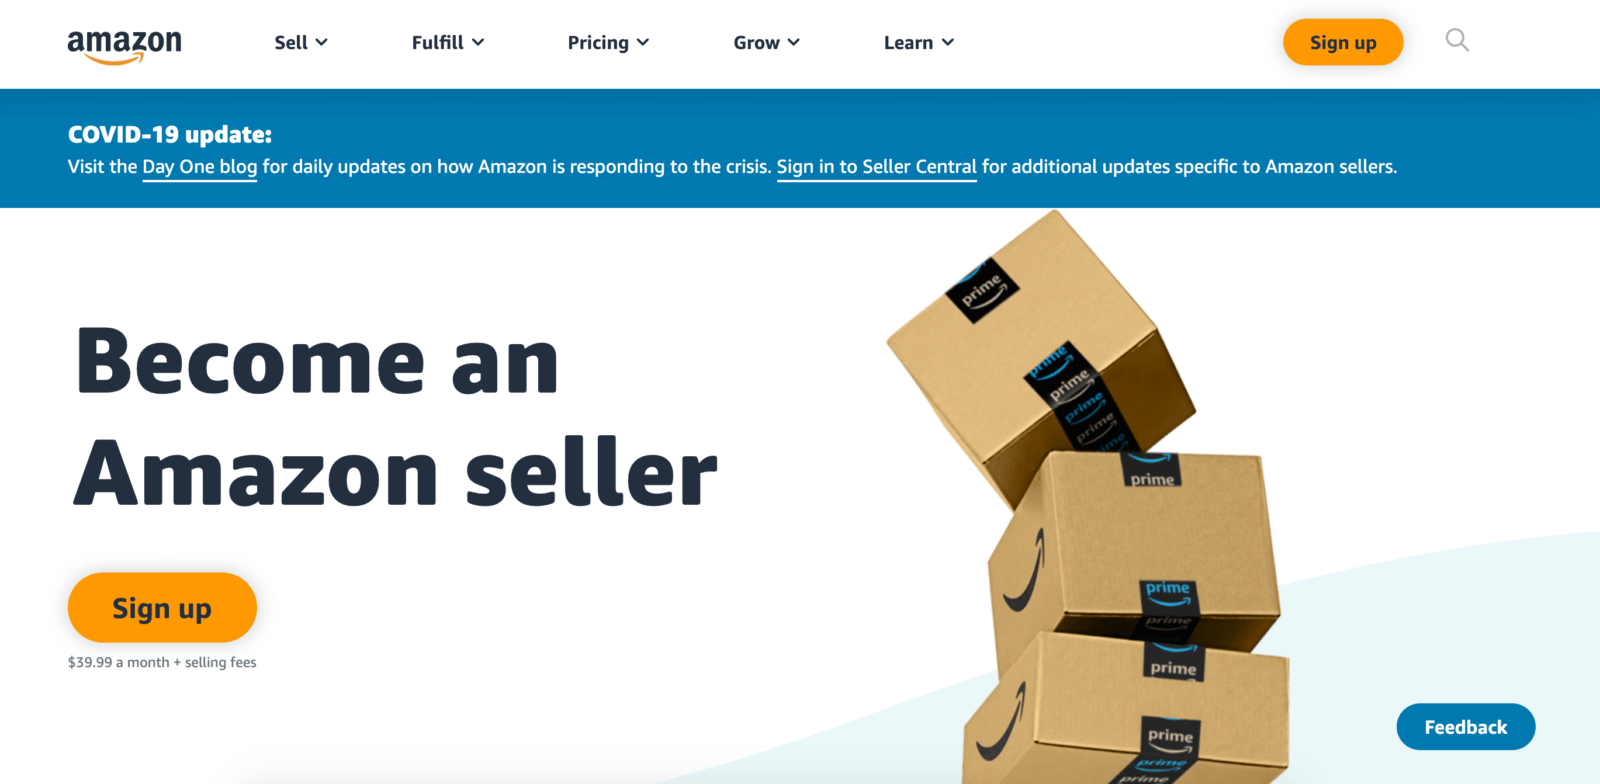
2. Scroll down the page, and Click on “Start Selling” Button
You will be redirected to Amazon login page. IF you don’t have amazon account then you can click on the “Create Your Amazon Account”
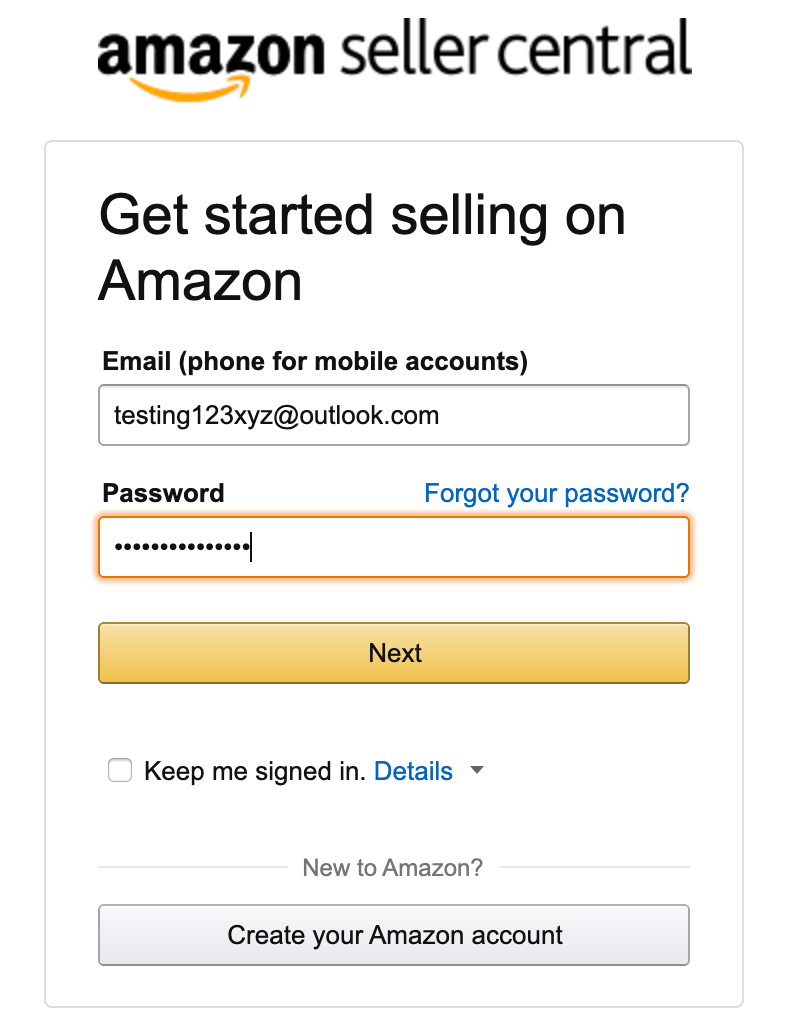
3. Enter your email and select ‘Create a New Account’
Once you’ve chosen the seller plan that is right for you, the following window will appear where you’ll be asked to enter in your email address and a password (of your choosing) for your seller account.
When you’re done, click the ‘Next’ button.
This will take you to a second screen asking you to enter in a one-time password (OTP) generated by Amazon, which will be sent to the email address you provided in the previous screen. This is Amazon’s way of verifying the email you entered.
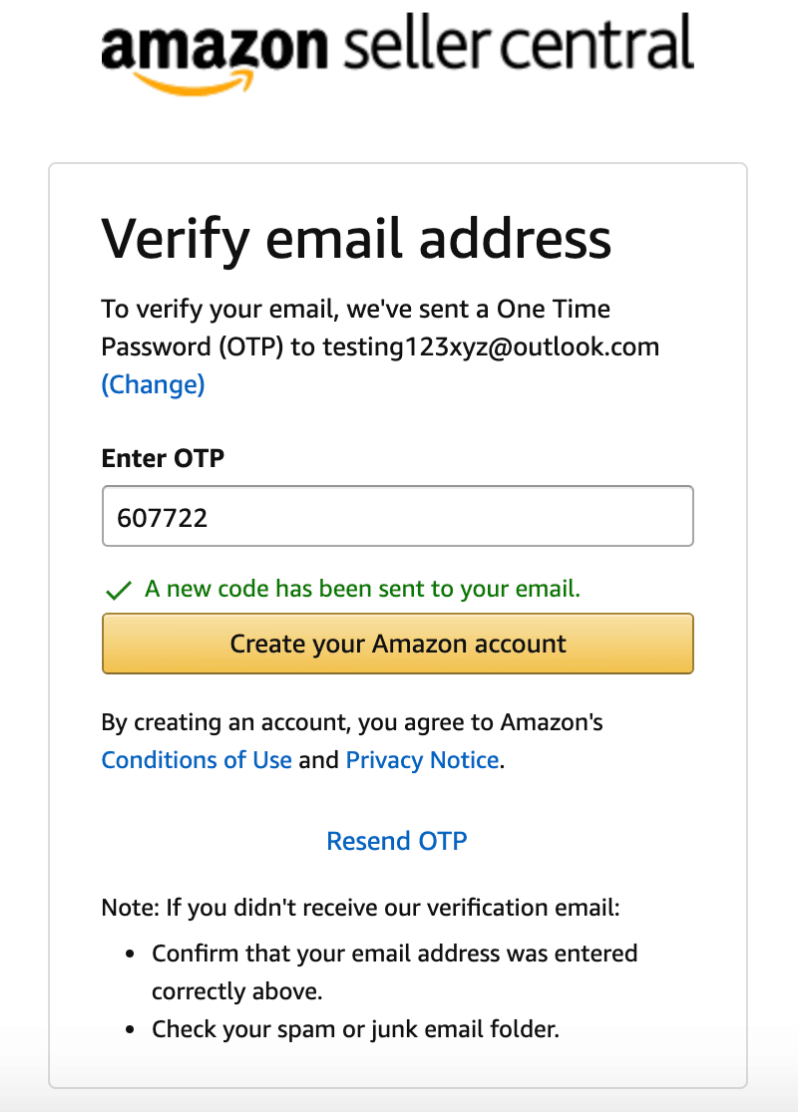
After you’ve added that OTP to its corresponding field, click the ‘Create your Amazon account’ button.
4. Choose your ‘Business location’ and ‘Business type’
The next step in the Amazon seller registration process is to share the following information:
- Your business location: This is the country in which your business is located. It’s extremely important that this is accurate, as Amazon will be verifying it (see step 10).
- Your business type: You’ll be able to choose your business entity from the following options (most fall into the ‘Privately-owned’ category):
- State-owned business
- Publicly-owned business
- Privately-owned business
- Charity
- None, I am an individual
- Your full name: Make sure you enter your first, middle, and last names.
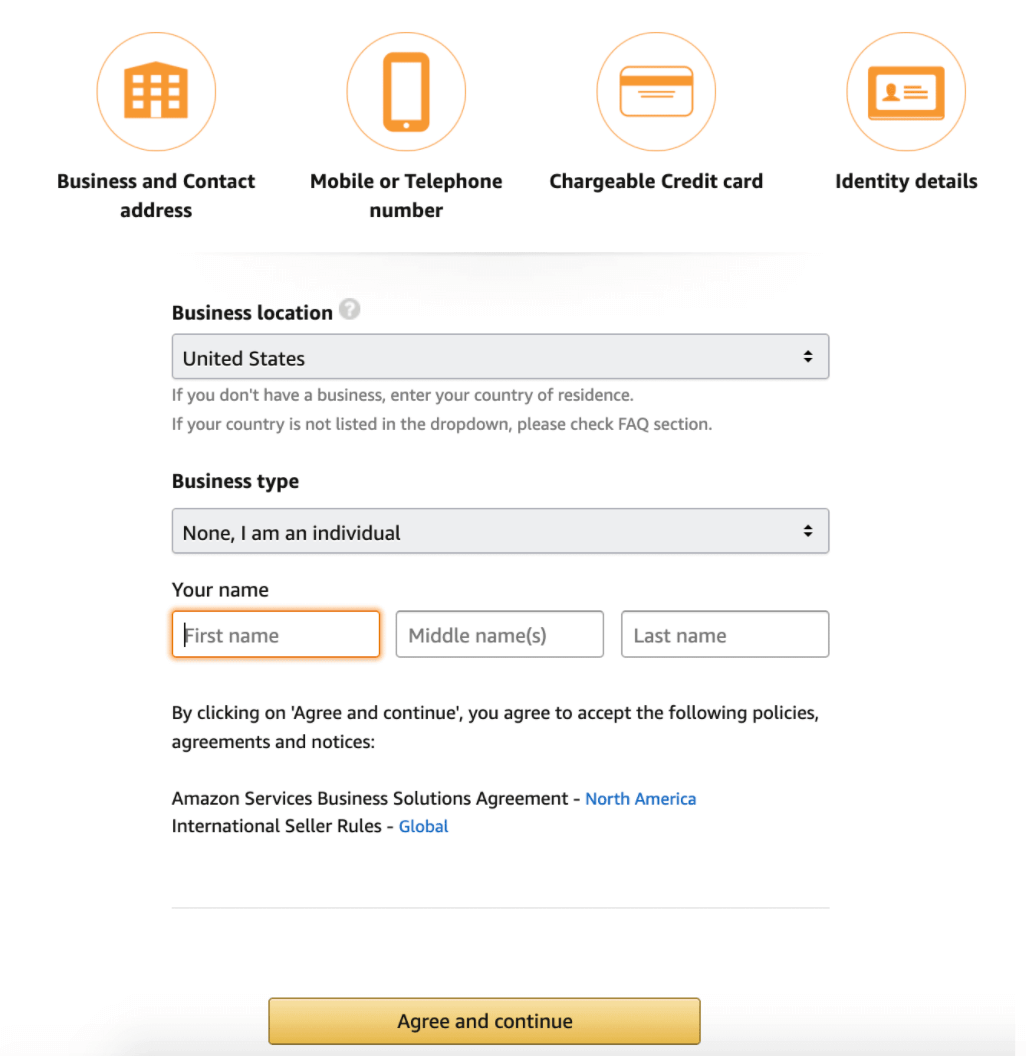
Then, click the ‘Agree and continue’ button.
5. Enter your personal information
From there, you’ll be asked to provide Amazon with a number of personal details. This includes a form of identification (either your passport number or your driver’s license).
You may also be required to give them your phone number. Again, this is for verification purposes.
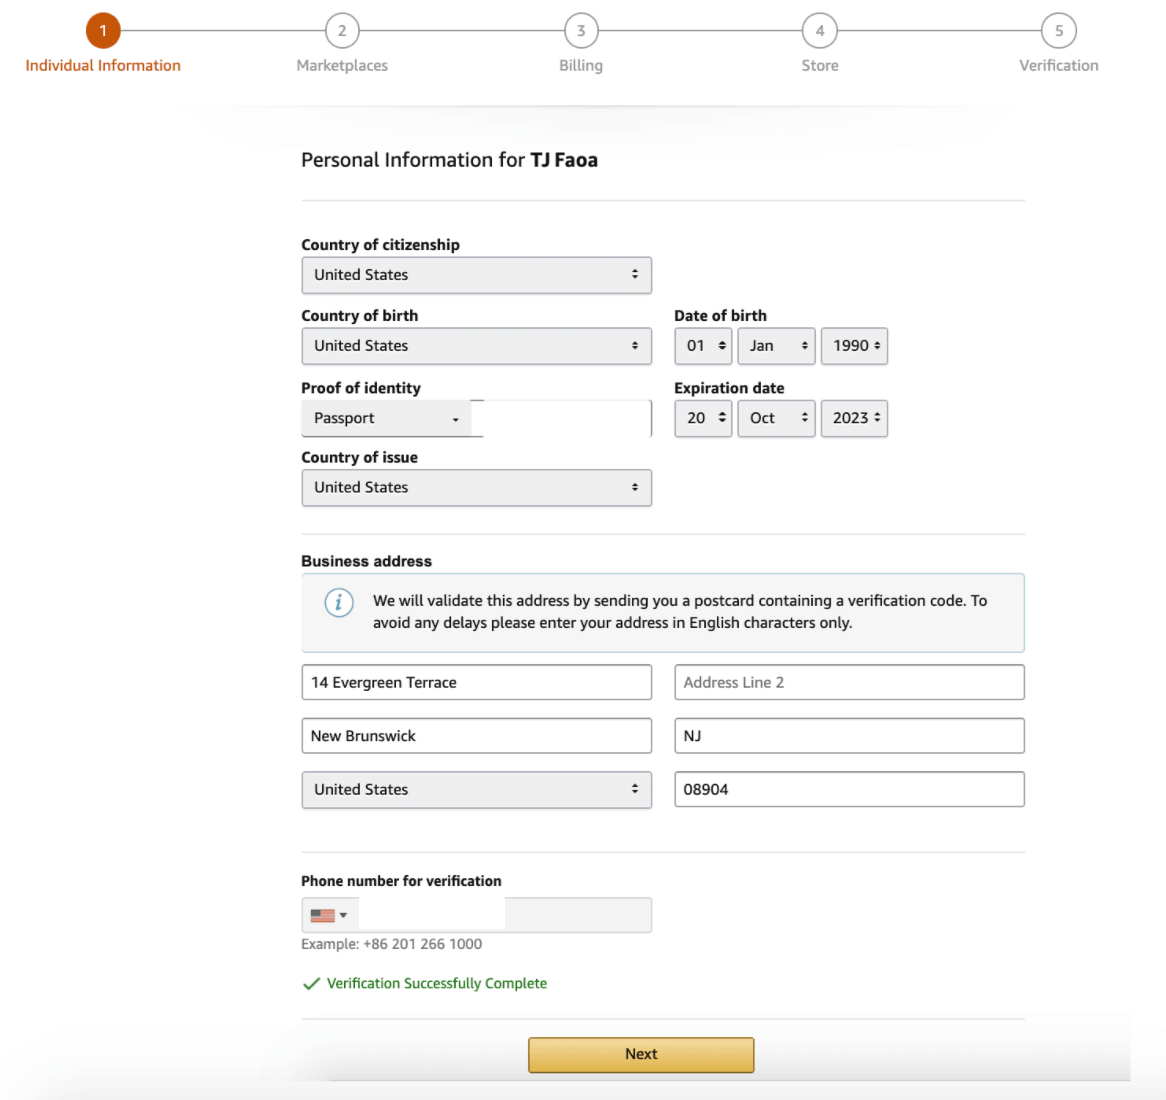
When everything has been entered, click on ‘Next’ at the bottom of the screen.
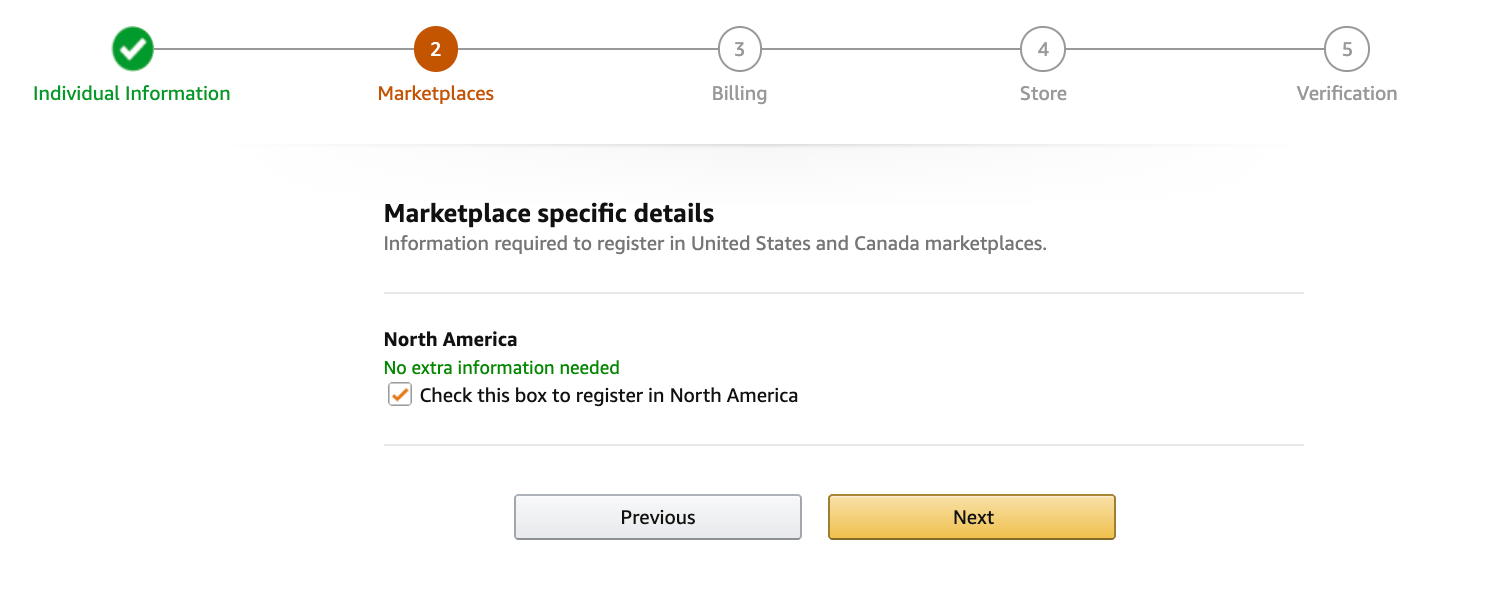
6. Choose your marketplace(s)
Once you’ve completed the ‘Individual Information’ section, check the box below the marketplace(s) — this refers to the location of an Amazon store (eg. Amazon.ca, Amazon.co.uk, etc.) — in which you’d like to sell, and then click ‘next’.
7. Enter your billing information
Another way Amazon is now verifying a potential seller’s identity is to make sure their credit card information is valid.
So, after you’ve chosen your marketplace(s), you’ll be asked to enter in the number and expiration date of one of your credit cards, as well as the name that appears on that card.
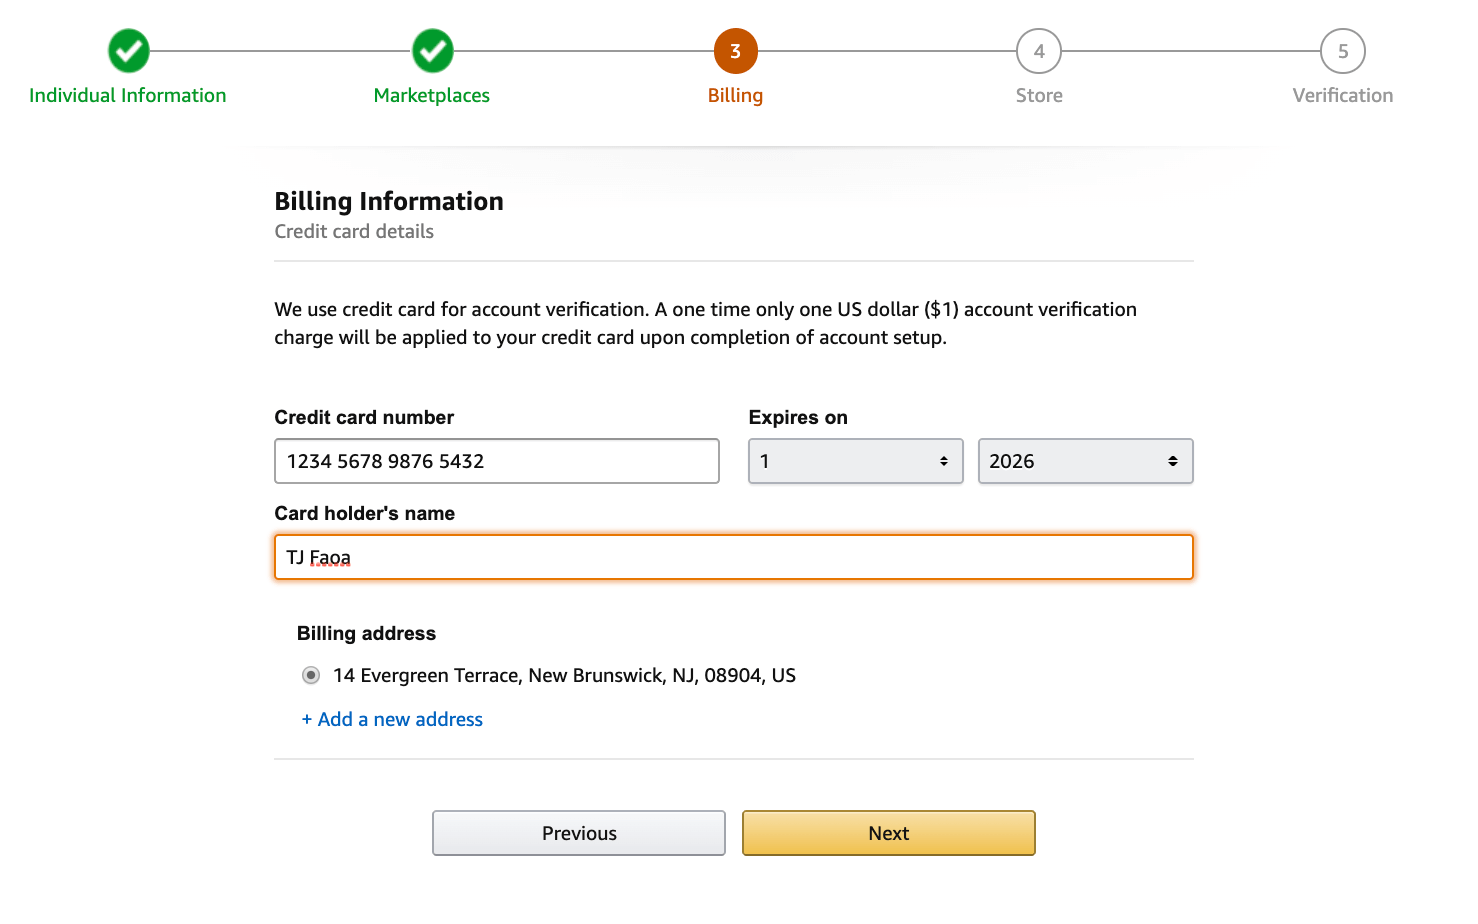
When you’re done, click ‘Next’ at the bottom of the page.
8. Add the information for your product(s) and Amazon store
After you supply your credit card information and it has been validated, you’ll be asked a few questions about your Amazon store and the products you plan to sell.
To move onto the next phase of the Amazon seller registration process, you’ll need to answer the following:
- The name of your Amazon store
- Whether or not you have UPC codes for your product(s)
- If you are the manufacturer and/or brand owner of the product(s) you’re selling
- If you have a registered trademark for your product(s)
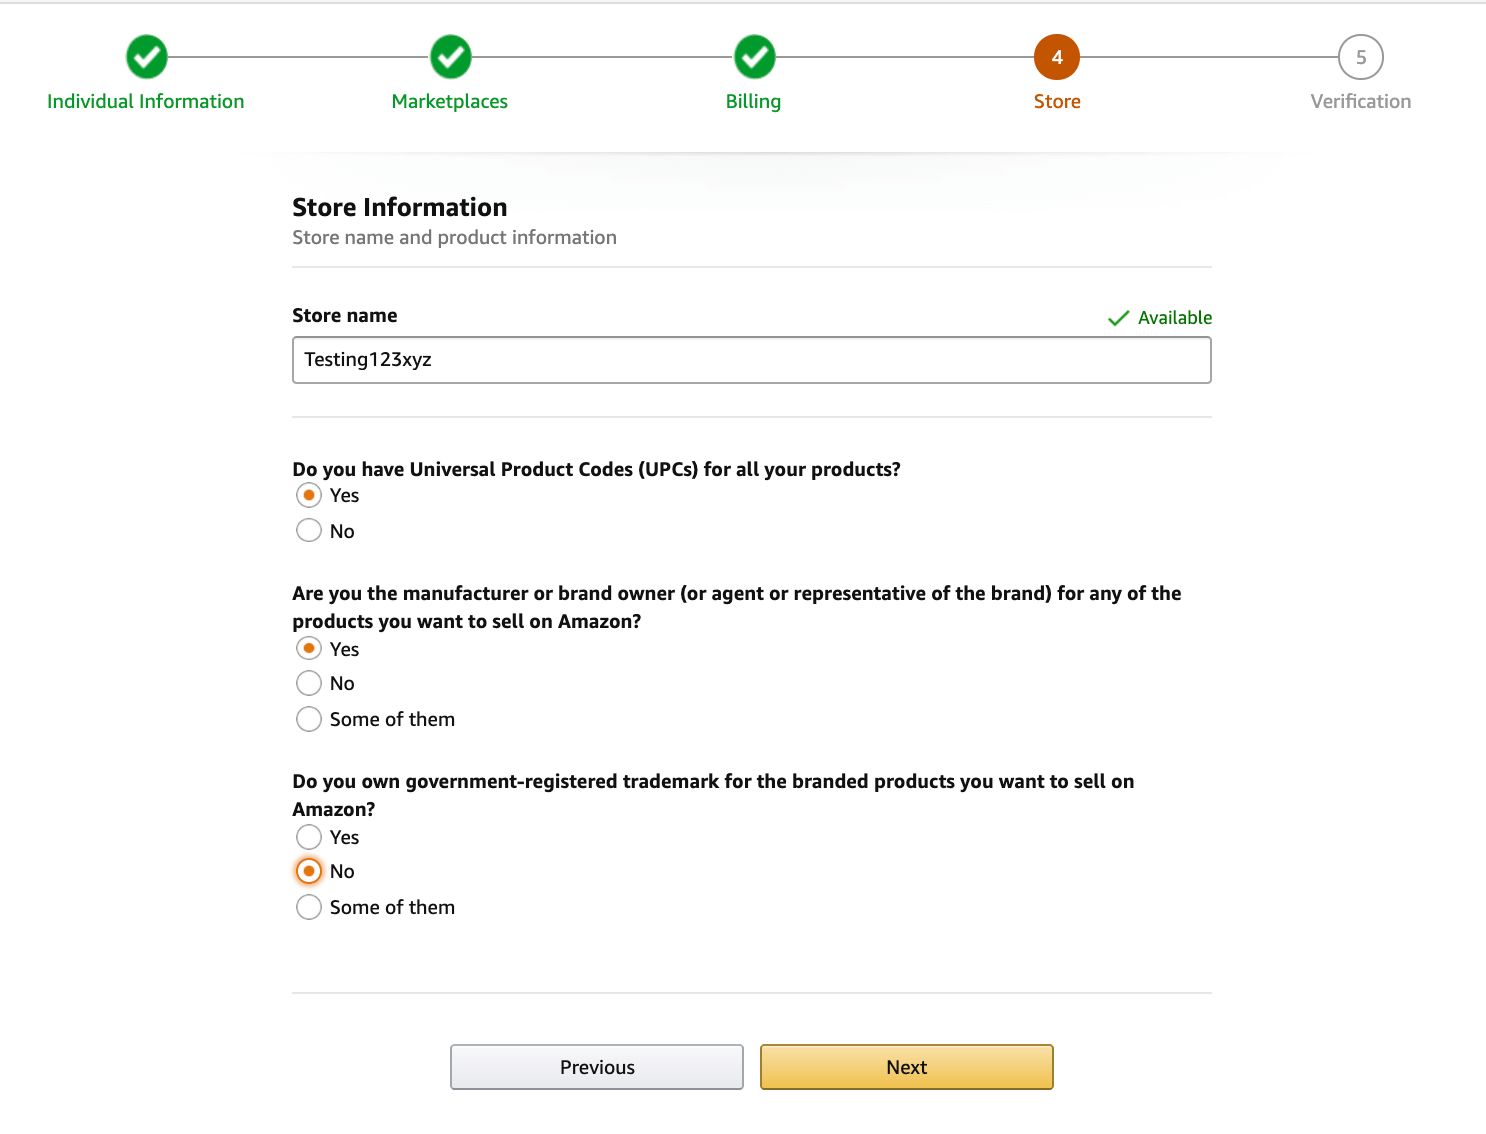
Click the ‘Next’ button after you’ve provided the answers to those questions.
9. Address validation
Lastly, when you’ve completed all of the other steps in the verification process, you’ll be asked to confirm the business address you provided in step six (the ‘Personal Information’ screen).
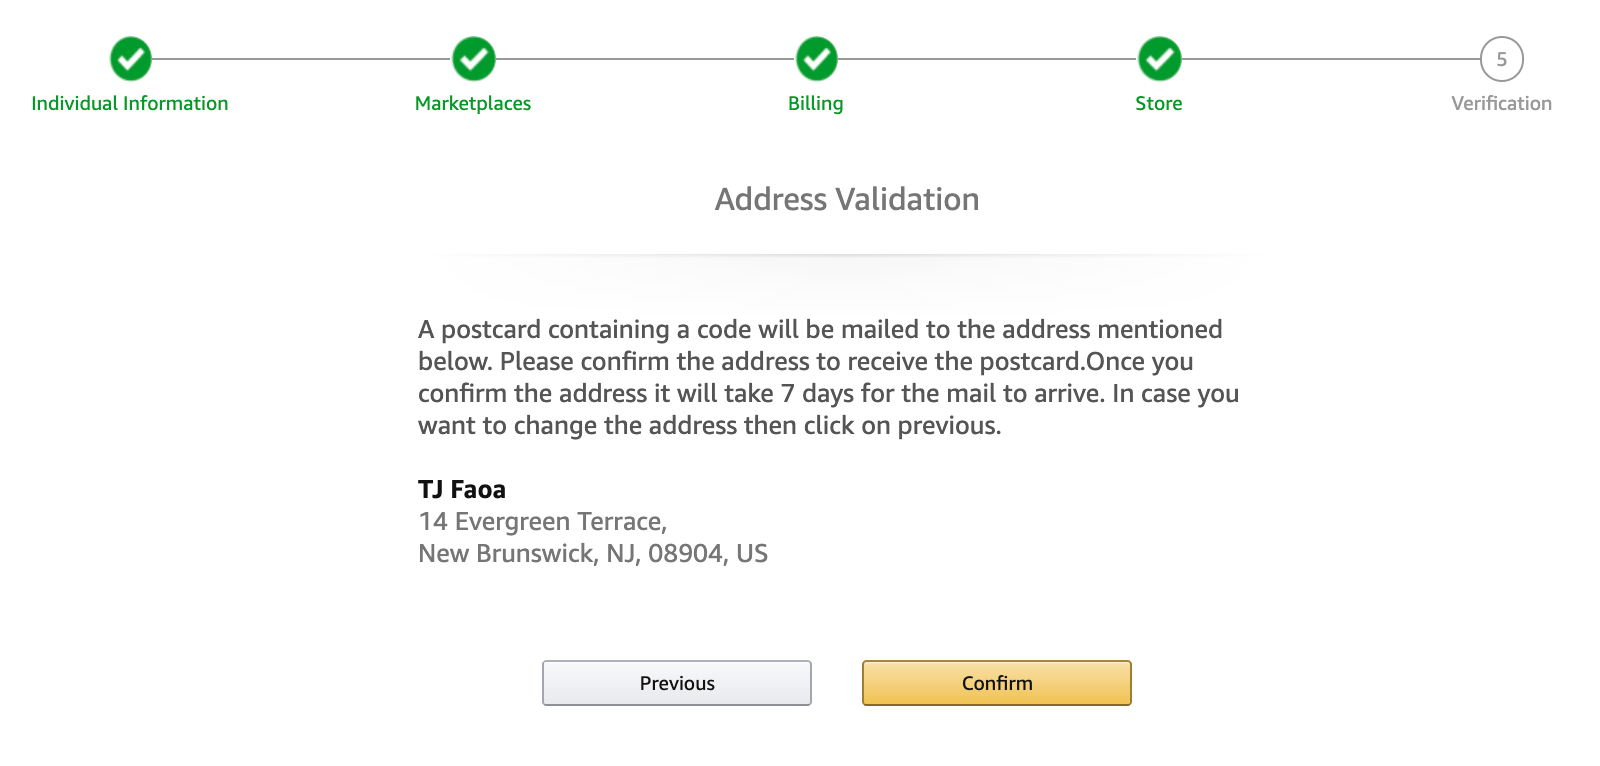
After clicking on the ‘Confirm’ button — if the address displayed is correct, that is — a new screen will appear. It explains that you will receive a postcard at that address, along with a verification code.
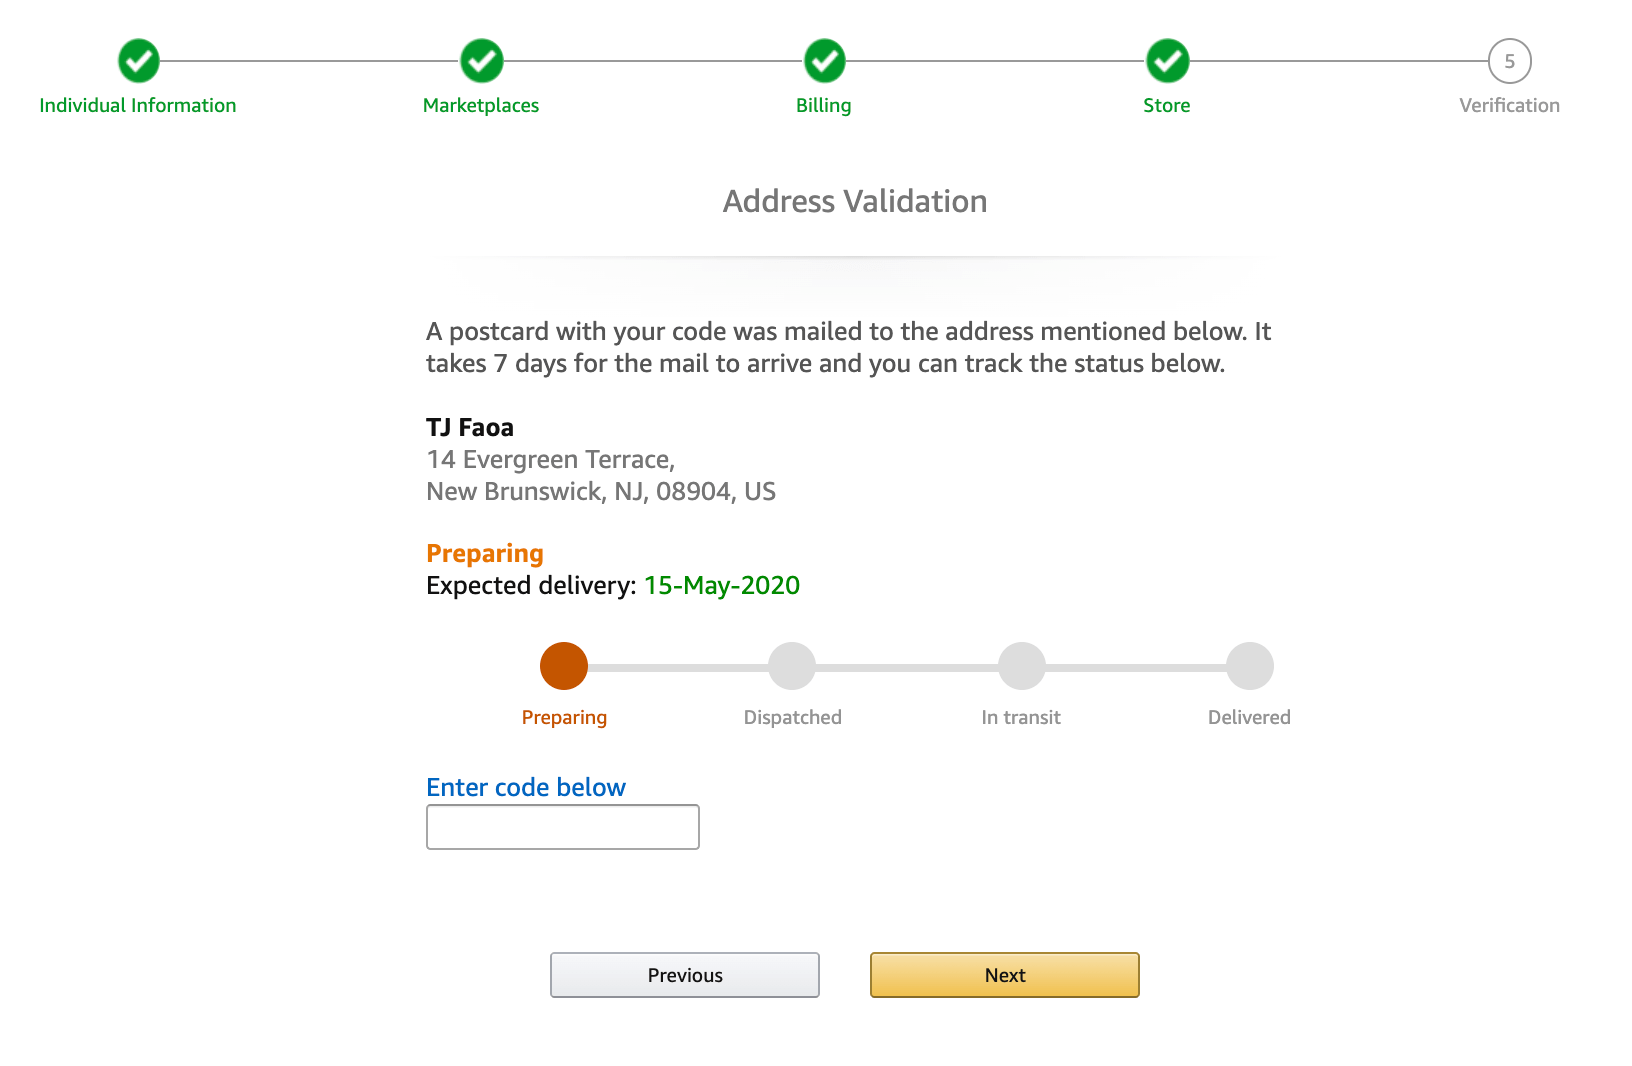
Then, when you receive the card, enter the code provided into the ‘Enter code below’ field and click ‘Next’ to finish the verification process.
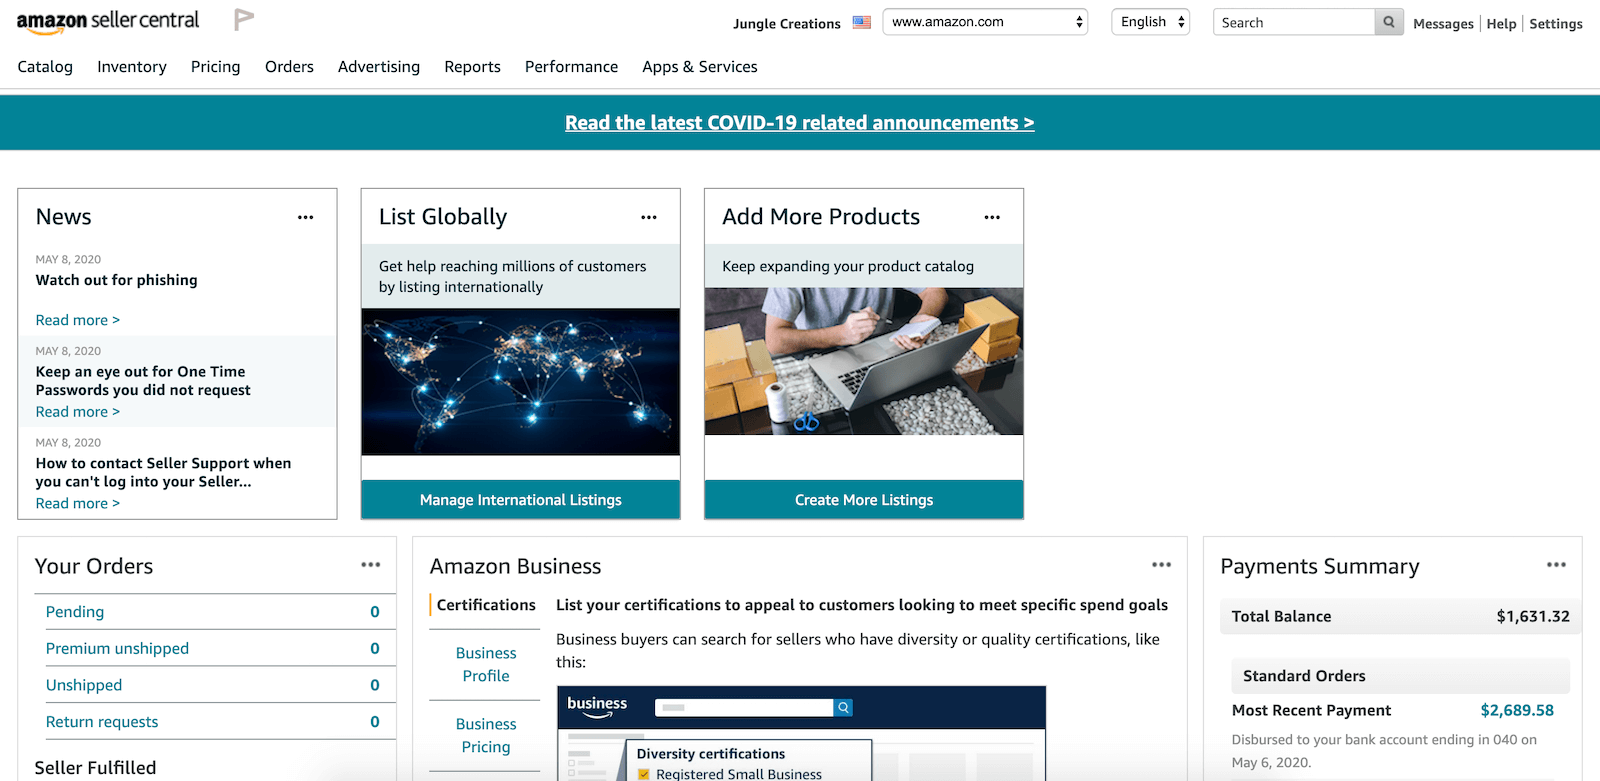
Once you’re verified, you’re in!
To be on the safe side, we recommend setting up 2-step verification on your account (for increased security). But, once your identity and business information have been verified, all you need to do to get started is to log into https://sellercentral.amazon.in.
And this is what your seller account home screen will look like (without any sales yet, of course).
*NOTE: The Amazon seller registration process has recently changed, to aid in its verification of new sellers’ information.
For this reason, some of the screens and requests you’ll see and/or be required to fulfill during your account creation could differ from those outlined above.